Classic RVs are all the rage in the camping community. This two-part Guide to Vintage RV Maintenance can help owners of older RVs keep their older camper in top shape.
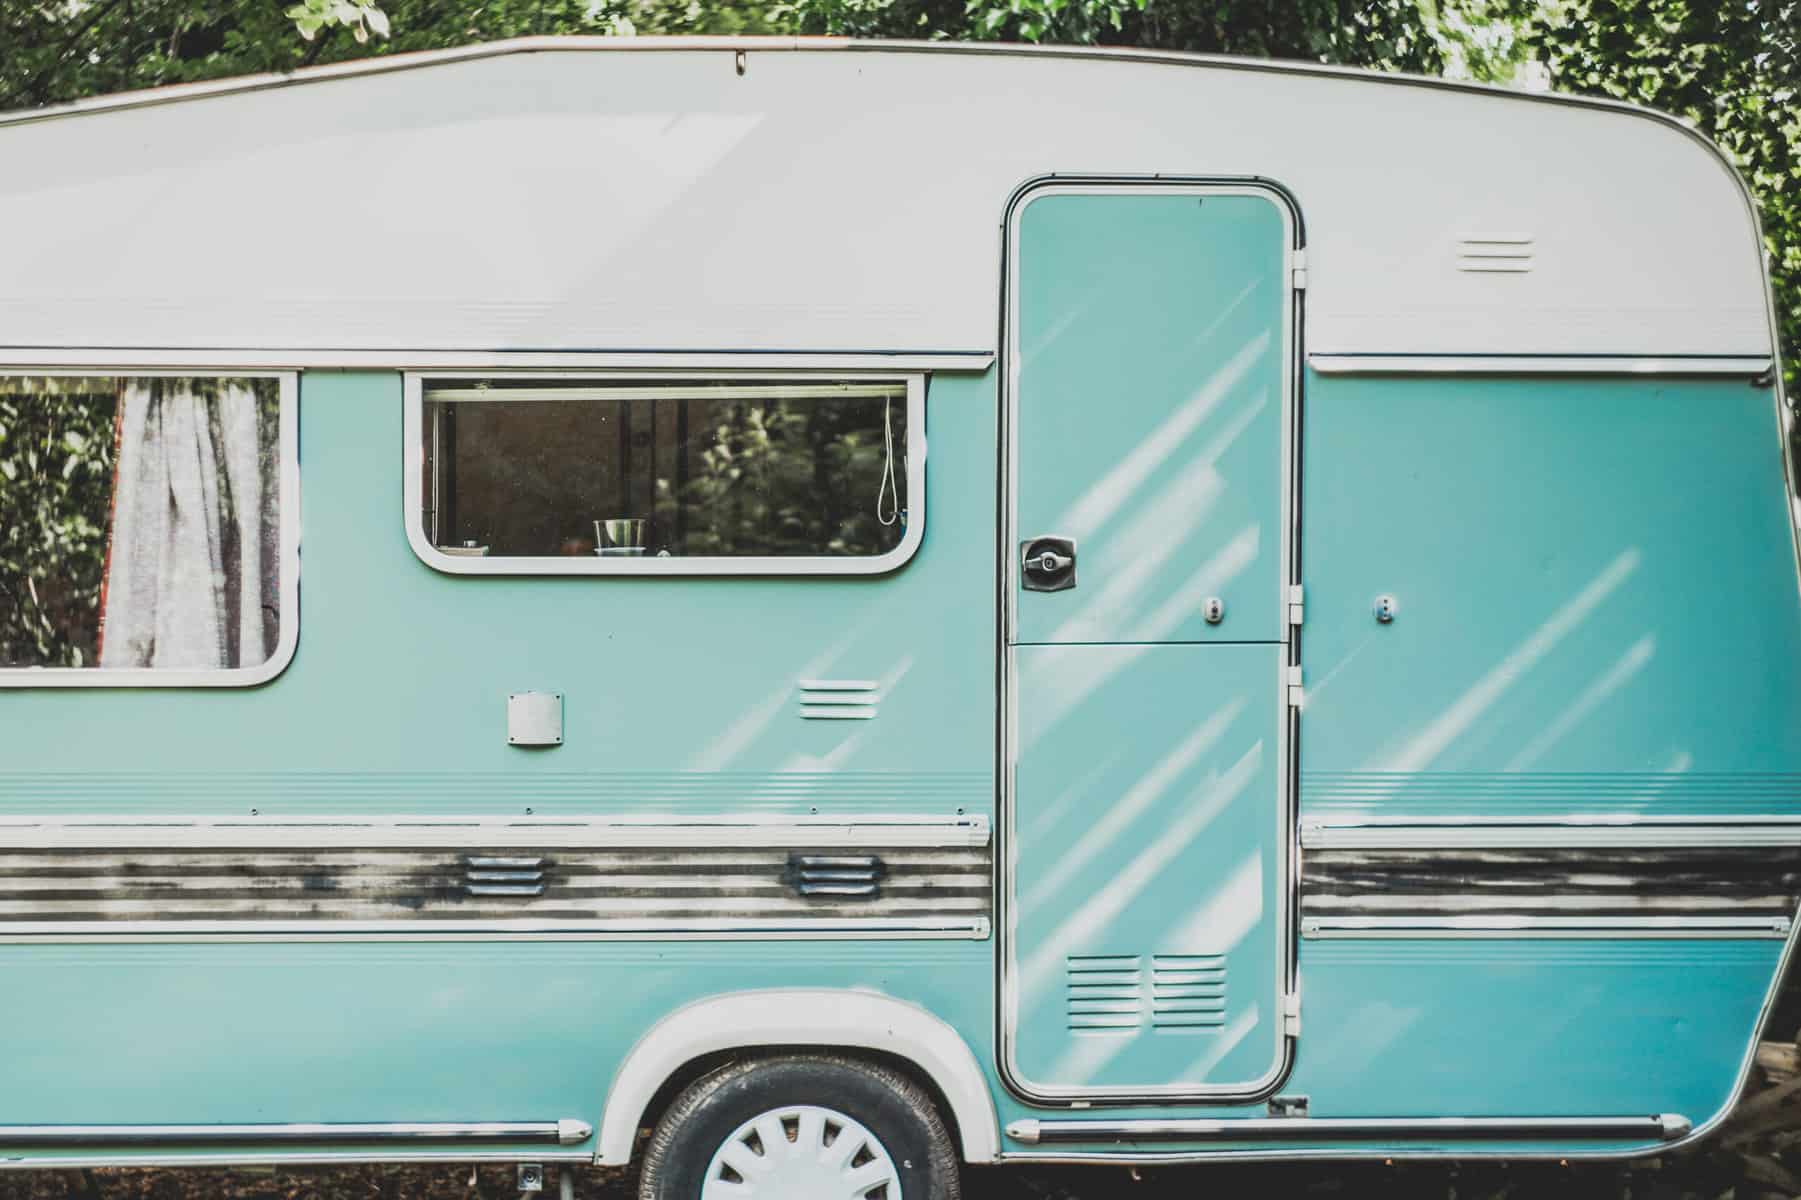
Old-school RVs are cool these days. Handy folks are renovating vintage RVs, fifth wheels and bumper pulls of all shapes and sizes.
If you’re a vintage RV owner of a camper over 20 years old, or thinking of buying one, there are a few things to keep in mind regarding regular care and maintenance.
Catch Part 2 of the Guide to Vintage RV Maintenance
Your Guide to Vintage RV Maintenance, Part 1
In this two-part guide, you will learn how to care for older RVs by dividing up the tasks into three essential maintenance groups:
- Exterior Care
- Interior Care
- Engine Care
While there is some overlap in maintenance and care in newer RV models, you’re going to want to use an added layer of care and attentiveness with your old camper. Here’s how to get started.
Exterior Maintenance Tips for Vintage RVs
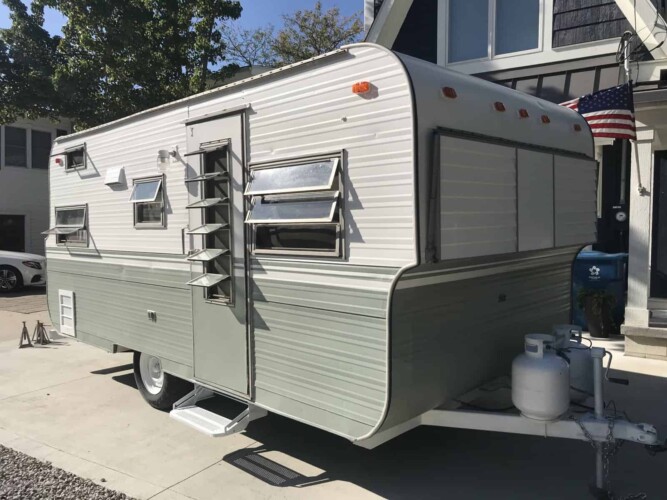
An RV over 20 years old has been subjected to its fair share of rain, sunlight, dirt and road grime. Older RVs can easily cross that line from retro and rad to totally drab if not cared for.
I spoke with Steve Evergin, an Atlanta-based RV detailer with over 20 years of experience, to get his perspective on keeping vintage RV exteriors looking good.
When it comes to cleaning the outside of your older home on wheels, Steve says it’s essential to be consistent with your cleaning schedule. Vintage rigs have been exposed to decades of weather, sun and travel, which can impact its external personality and sharpness.
How often should you wash and wax an older camper?
At a minimum, your vintage motorhome, fifth wheel or travel trailer should be cleaned three times a year. For those who really care about the external presentation of their rig, get it cleaned before/and or after every time you travel.
Just rinsing off your vintage RV with water won’t cut it. Dirt, heat and pollen can eat into your paint overtime.
Get it waxed no less than twice a year but three items a year if you really want to keep it in good shape. Steve warns your decals can bleed during the waxing process, as the color transfers onto the pad you’re using.
The more you buff, the more you’re taking off the surface of the vehicle.
Steve Evergin, Vintage RV Expert
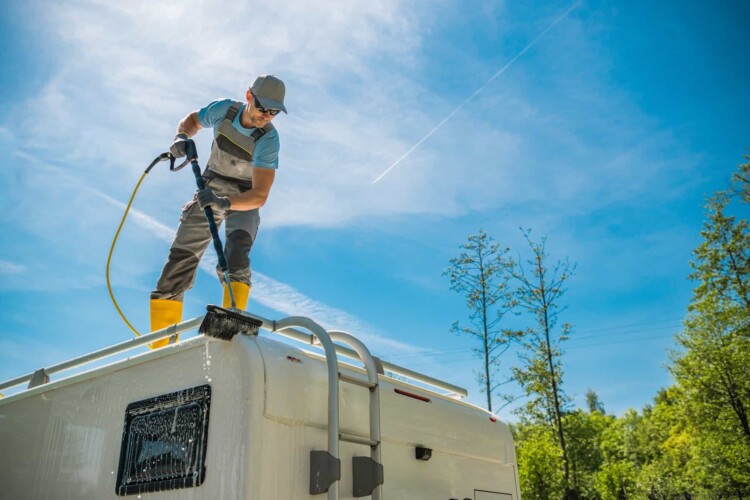
He also discourages the use of an rv pressure washers to clean your old camper, suggesting instead, “Let the chemicals do the work.”
What’s the best way to clean vintage RV exteriors?
On the topic of what to use to clean your RV, Steve warns, do not use dishwashing liquid, Mean Green degreasers or anything alkaline-based, as they strip off all your protectant. These chemicals are deceiving. They make your rig look great – until the surface dries out.
Steve suggests the following order in which to tackle cleaning your vintage RV:
1. Clean with a non-butyl degreaser.
Make sure everything is wet before you add the product. Then wash horizontally from the bottom up, one section at a time, to avoid streaks and rundown.
2. Dry completely.
Use a gentle microfiber cloth towel or other gentle material.
3. Remove oxidation.
Use a light cut vehicle compound. Or, upgrade to a medium cut compound for heavy oxidation. Do not use a heavy compound – it can take off all your protectant and you can’t afford to be aggressive here.
4. Polish.
Start finishing the job with a polish to enrich the paint.
5. Wax.
Wrap it up with a wax to protect it.
Avoid using traditional car washes. If you’re going to use something like this, opt for a wash AND wax. Steve likes the Turtle and the “I Love My Car” brands. He also makes it a point to look for products with more syrup-y consistencies as they tend to be more quality than the runny ones.
In lieu of painting, some vintage RV renovators choose to cover portions of the exterior with some sort of cheaper, more durable, heavy-duty spray on coating like Rhino Liner. If you have this material on your rig, it can get chalky quickly with weather and sun.
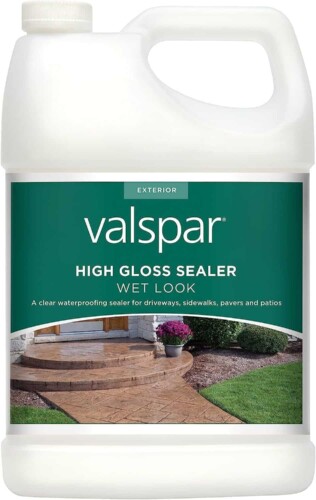
Steve suggests using Valspar’s clear protectant on all Rhino Liner materials anytime it looks chalky to add shine and keep it looking sharp.
Other Things to Keep in Mind with Vintage RV Exterior Care
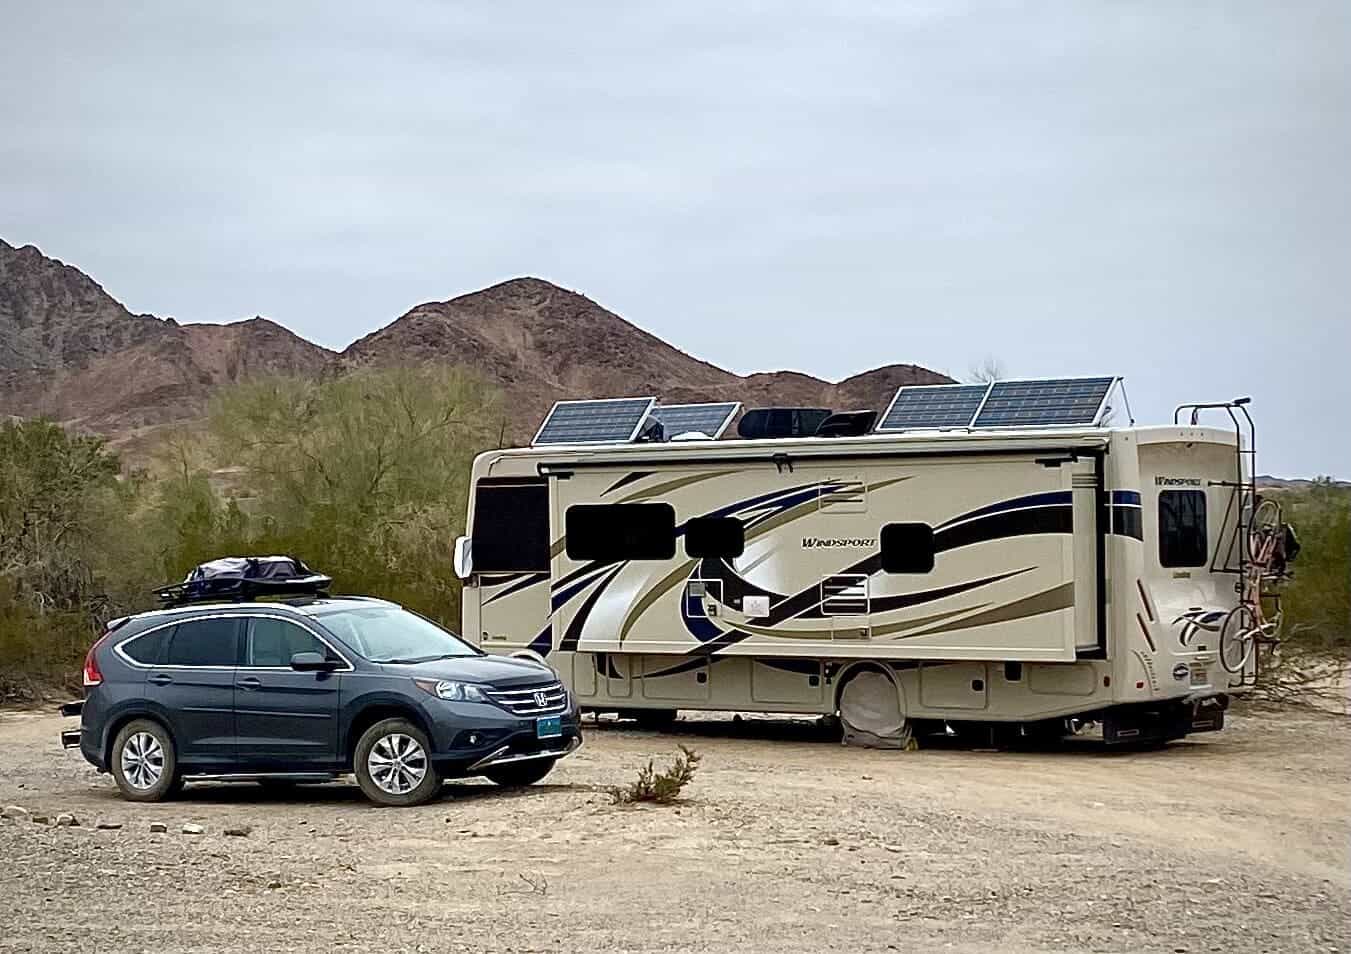
Vintage RV owners should pay attention to the “sun side,” or which side of the rig is getting the most sun. It’s better if your rear faces the sun.
“If you really care about keeping your sides even, rotate the side that the sun is on, even front and back if you can.”
Steve Evergin, Vintage RV Expert
What about wheels and rims?
If your RV has rims on the wheels, find out what they are made of to properly clean them.
1. Chrome Rims
Spray them from bottom to top, horizontally to clean. If there is rust, apply grade 3 or 4 steel wool and lightly rub the rust to remove it. Do not apply much pressure to avoid scratches. Follow the same process for chrome bumpers.
2. Aluminum Rims
You don’t see them as much on vintage RVs. But if yours has them, find a good aluminum/chrome cleaner. Steve likes the Busch brand. If you are using a degreaser to clean your rig, make sure the aluminum rims are not hot. They need to be at a cool temperature or the chemicals can damage the metal.
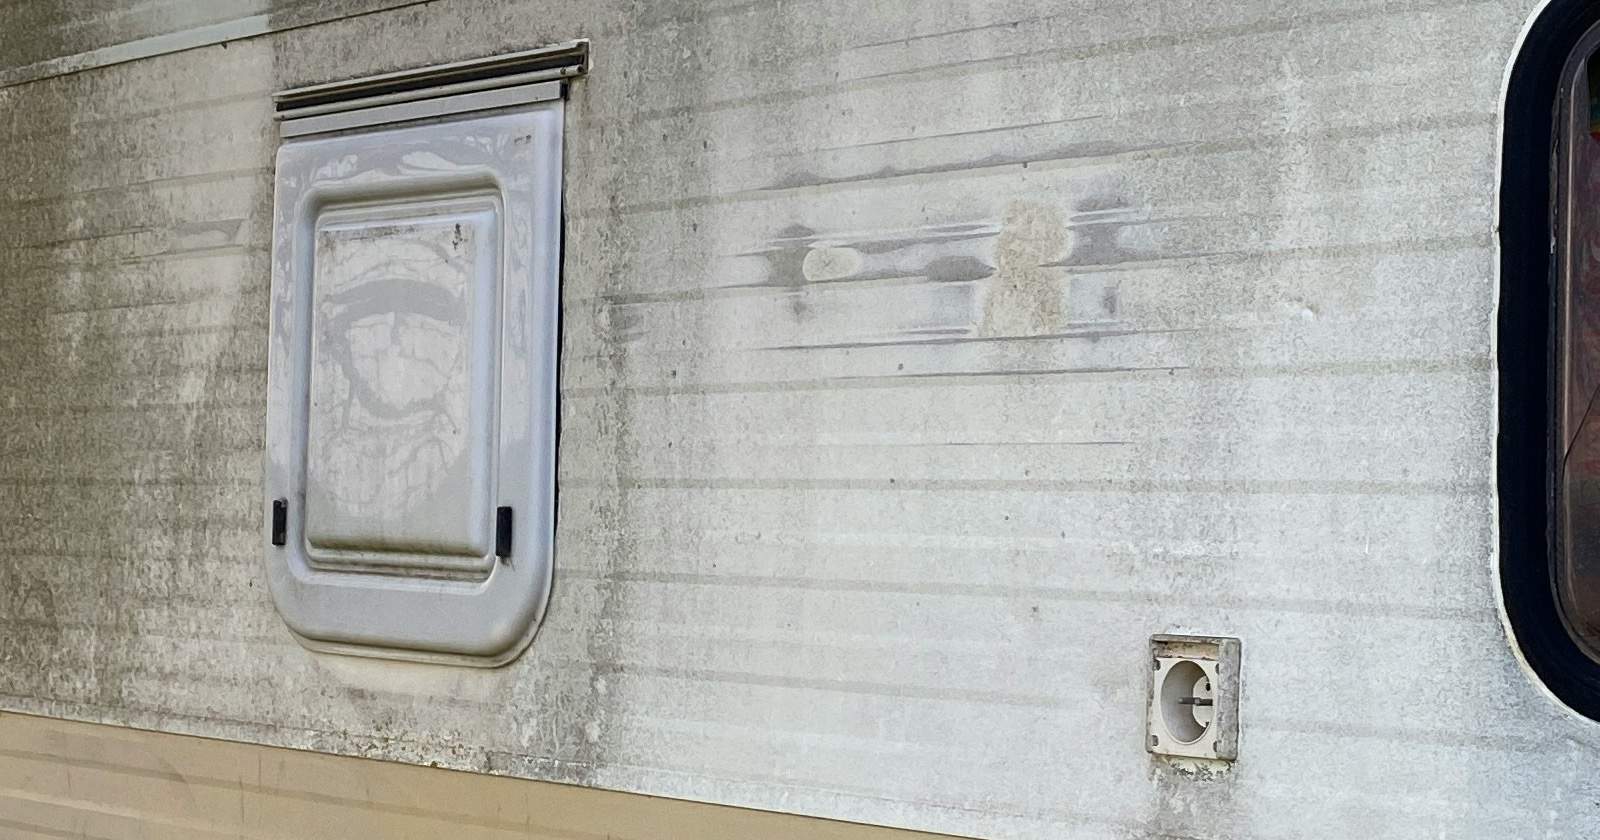
Can your remove oxidation from a vintage RV?
Does your vintage RV have yellow oxidation on the sides? If you want to correct it, be prepared to bring in help for several days. “Because it’s older, it will oxidize quicker,” Steve says. “You can’t stop it because of age, which is why it’s so important to keep wax on it.”
The process of reversing oxidation usually takes Steve several days. Nothing guarantees that he can completely remove it, either. This is all part of the natural aging process for any RV over 20 years old. “Have realistic expectations on how close you can get it back to the original condition without repainting it. It’s going to depend on what the previous owners did.”
Watch for More Older Camper Care Tips
A regular cleaning and protectant schedule paired with using the right products should keep your vintage RV looking great as you rumble down the road toward your next adventure.
Catch Part 2 of the Guide to Vintage RV Maintenance
Related articles
Best RV Maintenance Books for the DIY RVer